- Python 3 Demopack Download
- GeeXLab Downloads
- Forum thread (EN)
Here is the first article of a series a four small tutorials about OpenCV and Python 3 with GeeXlab.
What is OpenCV ?
OpenCV (Open Source Computer Vision Library) is an open source computer vision and machine learning software library. OpenCV was built to provide a common infrastructure for computer vision applications and to accelerate the use of machine perception in the commercial products. Being a BSD-licensed product, OpenCV makes it easy for businesses to utilize and modify the code.
The library has more than 2500 optimized algorithms, which includes a comprehensive set of both classic and state-of-the-art computer vision and machine learning algorithms. These algorithms can be used to detect and recognize faces, identify objects, classify human actions in videos, track camera movements, track moving objects, extract 3D models of objects, produce 3D point clouds from stereo cameras, stitch images together to produce a high resolution image of an entire scene, find similar images from an image database, remove red eyes from images taken using flash, follow eye movements, recognize scenery and establish markers to overlay it with augmented reality, etc.
– source –
The nice thing with OpenCV is that it comes with a complete Python 3 library.
The latest GeeXlab 0.29.17.0 for Windows 64-bit comes with Python 3.8.2 and OpenCV 4.2.0. So if you don’t have Python 3 on your system, you can still run Python 3 demos.
But if you want to use your own Python 3 installation, you can tell GeeXLab to use it. There are two ways:
1/ with a command line option: /python3_home="......". On Windows you should have something like:
GeeXLab /python3_home="C:/Users/YOUR_NAME/AppData/Local/Programs/Python/Python38/"
2/ with the python3_home attribute in the init0.xml (in GeeXLab root folder) file:
<glslhacker_init
    demofile=""
    python3_home="C:/Users/YOUR_NAME/AppData/Local/Programs/Python/Python38/"
/>
On Linux and Raspberry Pi, GeeXLab is not shipped with a Python 3 installation. It uses the Python 3 that comes with the system.
If you want to use your own Python 3 installation, let’s see how to install OpenCV for Python.
Before installing OpenCV for Python, be sure to have the pip utility. pip is the package installer for Python. If you don’t have pip, don’t worry, you can easily install it. I shipped the get-pip.py script in the Python 3 demopack. This script can be also downloaded from this page. To install pip, run the following command:
python get-pip.py
Now you should have pip installed. Now let’s install OpenCV for Python.
You can do this in command line with:
pip install opencv-python
OpenCV for Python should be now installed.
The boring task of installing OpenCV for Python is now behind us.
From now on, I supposed that Python 3 and OpenCV are ready to be used by GeeXLab.
The first demo is really simple. The goal is to check that OpenCV is installed and to display the version of OpenCV:
The first thing to do in a Python / OpenCV demo is to import OpenCV:
import cv2
The version of OpenCV can be read with cv2.__version__:
opencv_version = cv2.__version__
(major, minor, patch) = cv2.__version__.split(".")
opencv_version_major = int(major, base=10)
opencv_version_minor = int(minor, base=10)
opencv_version_patch = int(patch, base=10)
That’s all.
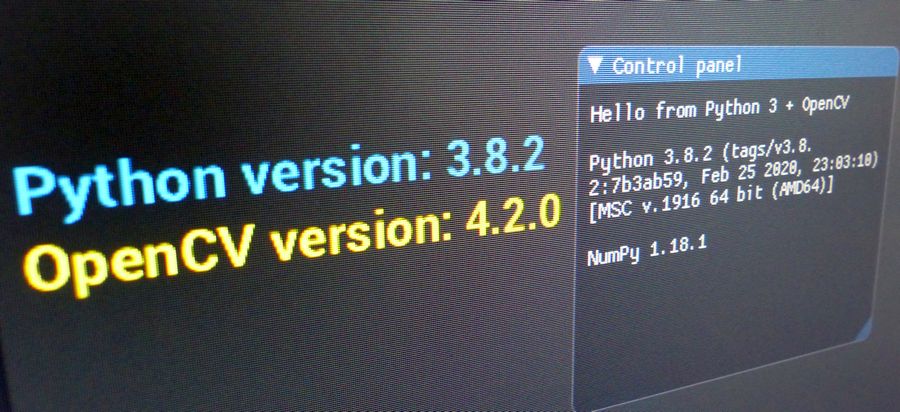
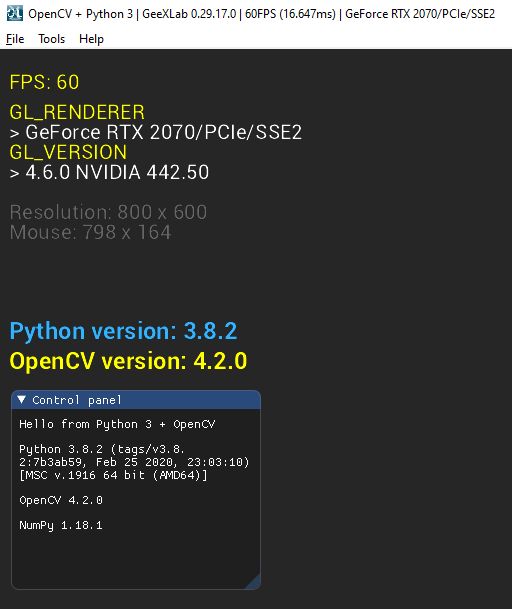
In the FRAME script, OpenCV and Python 3 versions are displayed like this (blue and yellow texts):
...

libfont2_print(font_b, 10, y_offset, 0.2, 0.7, 1.0, 1, "Python version: %d.%d.%d" %(sys.version_info.major, sys.version_info.minor, sys.version_info.micro))

y_offset = y_offset + 30
libfont2_print(font_b, 10, y_offset, 1.0, 1.0, 0.0, 1, "OpenCV version: %d.%d.%d" % (opencv_version_major, opencv_version_minor, opencv_version_patch))

...
Python and OpenCV versions are displayed in the ImGui window with:
...

gh_imgui.text_wrapped("Python " + str(sys.version))
gh_imgui.spacing()
gh_imgui.spacing()
gh_imgui.text_wrapped("OpenCV " + str(cv2.__version__))

...
Next article: how to load an image with OpenCV and how to display it with GeeXLab…